The bray harp is mostly finished. All it lacks at this point are actual "brays". I was eager to string it and hear its voice, so I opted for pins without the bray portion (which I can fabricate and glue on later). This will be a brief run-down of its construction, as I'm moving and beginning a new project . . . another nyckelharpa!
 Here are the back and front of the soundbox, and the string rib which is glued to the inside of the front or "soundboard" of the box. The entire harp is made out of bird's eye maple (Winsor Plywood was having a 1/2 price sale). This hard wood was difficult to work at first. A woodworker at the local school helped me rip the boards closer to the thickness I desired.
My husband bought me a saber saw and new ROS for our first anniversary--nothing says "I love you" like more tools!

However, the tool I had the most success with on this tricky grain was my little cabinet scraper. I learned how to turn a good burl on this simple piece of steel, and finishing (though still a lot of work) was much easier and even faster than using a sander.

Because this is a medieval harp, the tension of the strings is much less than that of a modern harp. That being so, the grain on the soundboard could be vertical. The sides and end caps of the soundbox are shown here. The bottom is slightly deeper than the top, and slightly wider, too.
 I used regular Titebond glue to laminate two pieces together for the pillar. On the rest of the joints, though, I learned how to use a two-part epoxy with a filler (wood flour I saved and sieved for the very finest dust), since the epoxy is more forgiving if my surfaces aren't perfectly flush.
Once again, I borrowed some time on the drill press at the school shop building, so that my peg holes would be straight. This harp doesn't use fret pins. I learned how to use a taper-bit, and I think I got the hang of it by the 16th hole. Even if your taper drilling is great, there will still be some variation between individual pins, so you insert the pins and then swap out the ones that stand proud with those that sink a little too far.

The carving along the neck is actually functional for the harp. It creates a ridge on which you can fret and get sharp notes. I had to carve away quite a bit at the knee block so the top strings could vibrate freely.

The completed harp with the first strings attached. You can see there is a very slight curve to the pillar. I'm not sure why it was designed that way.

The other side of the neck with a great view of the grain on the back of the soundbox. I just love the grain of this wood!

Decorative sound holes and the front of the pillar. The pillar is the only thing I'm not happy with. I had planned to us three pieces so they would be even, instead I used a thick and a thin piece, which works but doesn't appeal to my eye. The reason I did it that way is that I didn't want to have to cut and thickness another two pieces (aka I got lazy).
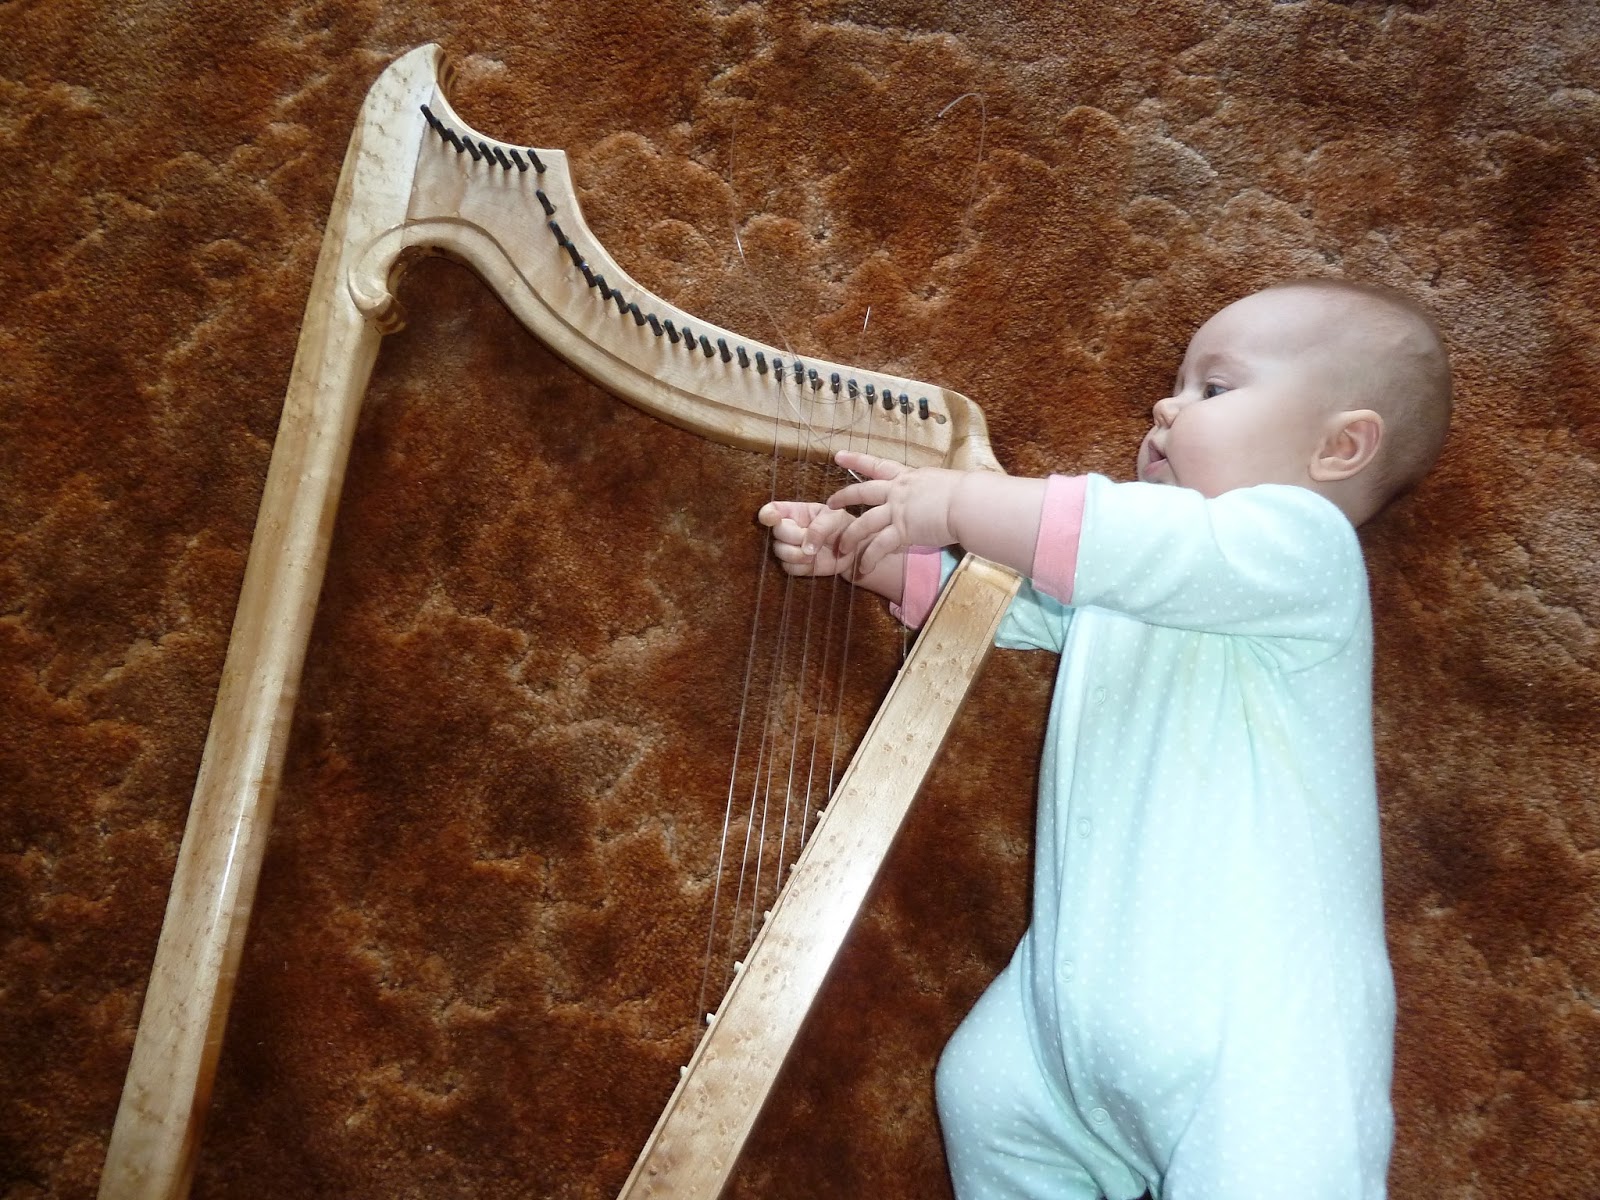
A first test drive!
I do hope to make the brays, having planned ahead and making my pins so that I could "simply" take the pins out and glue on the brays. The brays can be "turned off" by twisting them to the side if I don't want the bray sound.
Rick Kemper of Sligo harps has a building guide for this harp for sale on his website, as well as blueprints for his own line of celtic harps (As well as finished harps for sale)!
No comments:
Post a Comment